
Slippers can be felted from sheep wool in a variety of ways. Sheep wool is often used, because this material makes the slippers warm and soft. The felted slippers that are made in this post also have leather soles sewn underneath to make them less slippery when walking on a wooden floor.
You will be able to make your own felted slippers if you follow the instructions outlined in this post. But if all of this seems too complicated and you would prefer to buy yourself some felted slippers, then feel free to contact me. You can order felted slippers in all sorts of different styles from me – high and low, with a sole or without a sole etc.
What will be needed for felting:
- Wool sheet — you can choose the colour yourself; depending on the size of the slippers you will need 130–180 g (on average 160 g)
- Felting needle, felting mat, scissors
- Cut and shoe last
- Household soap and lukewarm water
- Washing machine (for making the job easier)
- Wooden meat roller or massage roller
- Film, towels, bamboo mat
- Glue gun or/and glue
- Bowl
- Needle, thread, imitation leather or leather for the soles
- Sachets made from nylon curtain
- Kitchen scale
Making the cut for felting a slipper
Place the foot on a paper and draw a contour line around the foot. Even out the line and then also add 3—6 cm of spare room to the contour of the foot. The amount of spare you need to leave largely depends on what kind of wool sheet you are using, because different types of wool shrink to varying degrees. You will only know the actual size of the felted slipper for sure once it is completely ready. In the beginning you just need to give it a try. I have added 3—4 cm to the sides and 5 cm to the toe and heel parts. After adding the spare, once again even out the contour line, and then cut the shape of the cut out of the paper. Transmit the cut to some harder material (e.g. thin PVC mat). If you want a cushion on the cut, you can cut it out of porolone foam that is 0.5—1 cm thick, and then you can glue the cuts together.
Laying the wool sheet on the cut
Usually the wool sheet is in the form of a fabric. If this is the case, then place the cut on the wool sheet in such a way that the wool sheet is about 2—3 cm over the edge of the cut. Tear off one even strip and weigh it. Then you can divide the wool sheet into equal parts, taking into account that an average of 160 g of wool will go into making the wool slippers, and it should be divided into 4 equal parts. The best way to do it is by weighing. If you want to make two-coloured slippers, then you will need 4 additional equal parts of wool, but these parts would be significantly smaller. For example, if the amount of material used for a pair of slippers is 160 g, then it could be 110 g of grey and 50 g of red wool. It is necessary to divide the wool into four parts for the reason that one slipper has a top and a bottom side. The direction of the wool sheet does not matter, because it is teased and the wool fibres are mixed up anyway.
When the wool sheet is weighed and the pieces are measured, then the next step is needle felting. Take out the felting mat and use a needle to felt the pieces over on both sides, then place the taped cut (e.g. the side of the thin PVC mat down) on the wool sheet and connect the first pieces together. When you start, be sure to monitor the heel and the toe part of the slipper, because they are curved. Also, be careful to apply the wool sheet on the cut evenly. If the first piece is placed on the cut on the upper side, then be sure to do the same with the lower side. It is important that the place of connection of the first detail now goes against the wool sheet. If the slipper is one-coloured, then with the last layer it is necessary to pay extra attention to ensure that the end result will be as smooth as possible. However, if the plan is to apply another different-coloured layer, then just repeat the previous step. After adding the last layer of felt, go over the entire slipper with a needle so that the layers are well bonded together. Repeat the same procedure with the other slipper.
NB! Do not forget that the shape of the right and the left foot is different — which means that turning the slipper when using the wool sheet is important. It is also very important to remember how we placed the cut on the first slipper. The cuts must be mirrored.

Treating the wool sheet with a felting needle

Laying the second layer on the cut — the first layer is against the wool sheet

The wool sheet is distributed around the cut evenly
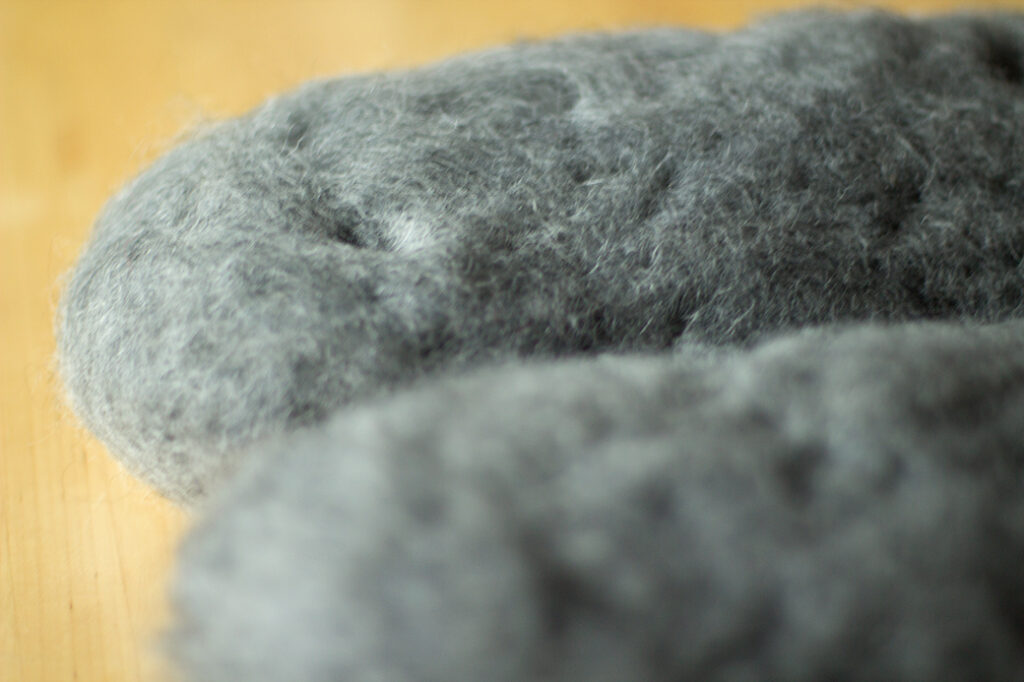
The blanks of the felted slippers
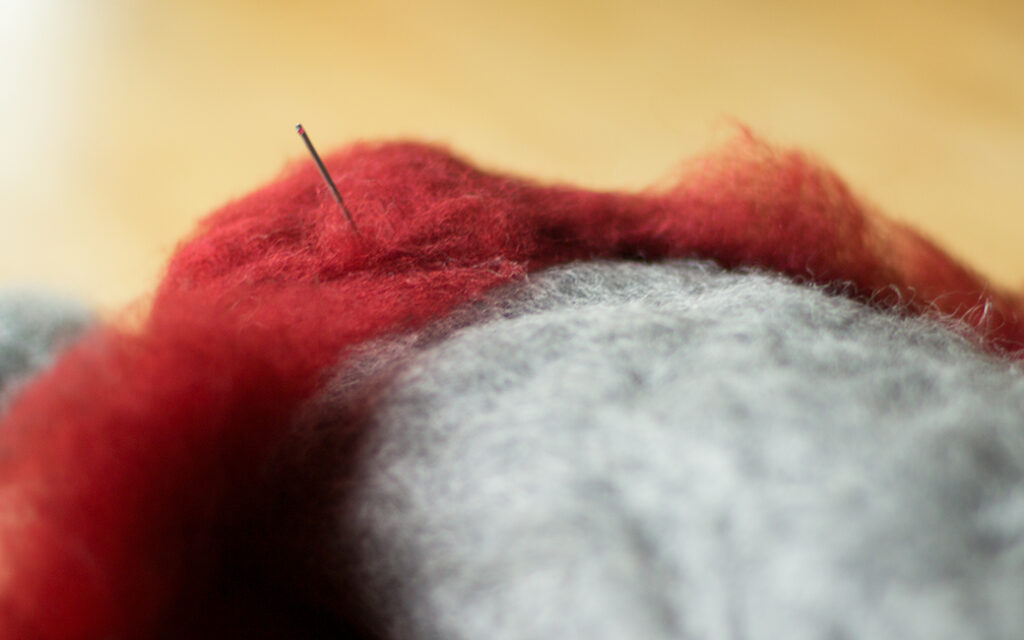
Adding red wool on the blanks of the slippers

Completed blanks of the felted slippers
Felting in a washing machine
Felting in a washing machine is a bit risky and the result might not be a complete success when you are still trying it out. As a first step, you need to place the slippers into nylon bags. Before putting the slippers into the washing machine, they should also be made wet in warm water. To do this, pour some water into a bucket or a bowl and add a little bit of dishwashing liquid and then gently press the slippers with your hands so that you feel how the water seeps into the wool. Then squeeze the excess water out of the slippers and put them in the washing machine. In the washing machine, the best temperature would be around 40 degrees and the wash cycle about 1.5 hours. Remember that the colour from the wool sheet can also transfer to other things.
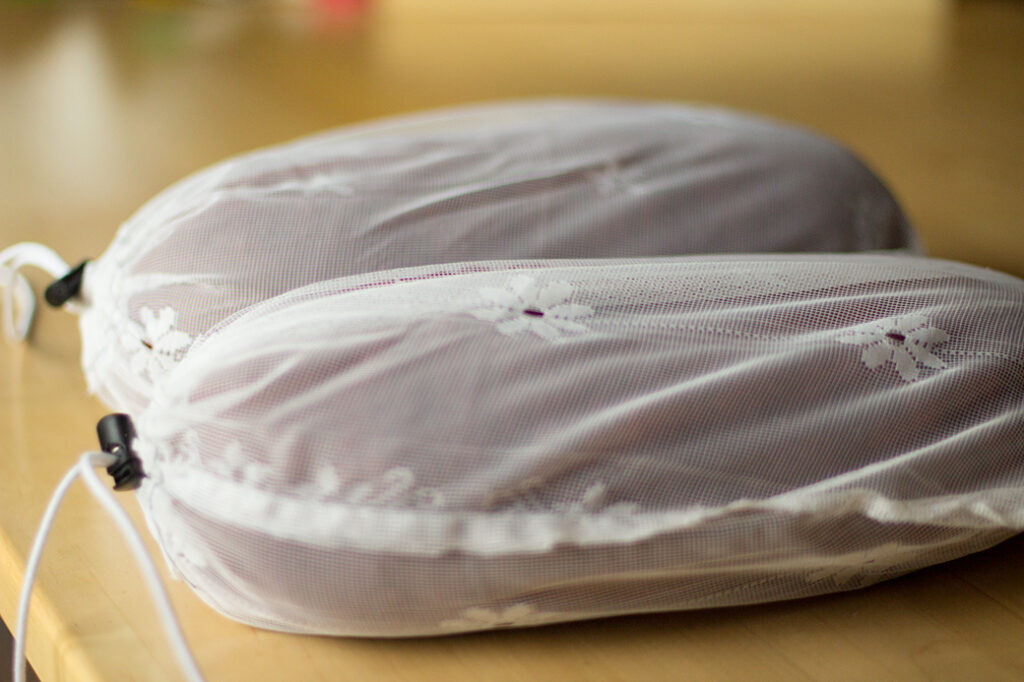
Felted slippers are ready to go into the washing machine
Felting the slippers
After the washing machine has done its job, then the cut should be removed from the slippers. When cutting a gap to get the cut out, keep in mind what kind of felted slippers you want — with or without a heel. It would also be good to pay attention to which side looks nicer. At the same time, one must not forget about the difference in the shape of the right and left foot. If you want the slippers to be without the heel part, then make the cut as a curve, such as on the photo below. Try not to cut too much, because with the removal of the cut the hole will stretch larger. The curved part will be the heel of the slipper. With a brush for cats, you can tease the part of the heel and sole for them to stick better. If it still seems that it does not stick well with the bottom, then you can use the needle felting technique, or sew small details to the sole with small stitches. It would be best to think of decorating the slippers straight away. One of the easiest ways to decorate is to add lamb locks, and now would be the best moment to start putting the locks into place using needle felting technique. However, you can decorate the slippers in many different ways.

Cutting the opening for a felted slipper and removing the cut
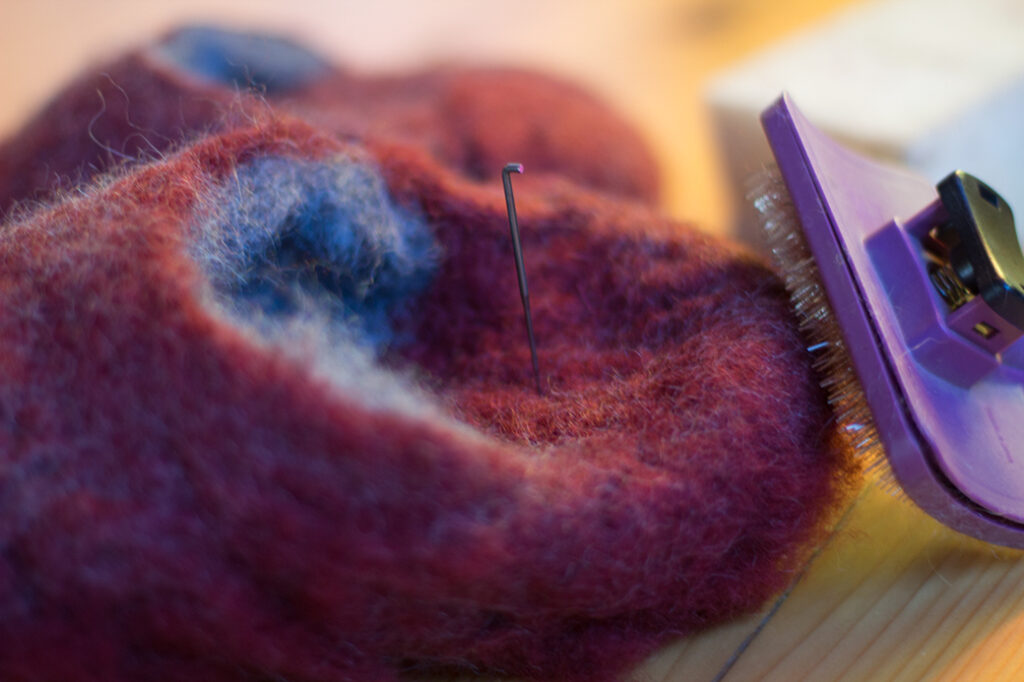
Treating the heel of a felted slipper

Adding lamb locks to a felted slipper
As the next step, the slippers simply need to be felted with soap foam to make them stronger and sturdier. Also, before starting with the rubbing, roll the pieces with a wooden meat roller, using household soap. The soap foam should be creamy when rolling and rubbing. Very often the washing machine does not felt the item evenly, and there are visible bumps and hollows when you take it out. These bumps and hollows must be smoothed out, because this even smoothness is what shows the quality of the felting. However, if the defects are very big or stubborn, and they can not be hidden anywhere (for example, under the sole or with a decoration), then there is not a lot you can do. For me, unfortunately, this kind of slippers are not usable and I have to discard them, but fortunately, this happens less and less.

Rolling out the bumps and hollows
If you have already rubbed the slipper enough, then it would also be good to roll it between a towel and a bamboo mat. I recommend rolling in four different directions – from the toe, heel and sides. It would be good to roll 50 times in each of the four directions, which makes a total of 200 times. It has also sometimes happened that after I roll the slippers with a meat roll so they are even and then roll them between the bamboo mat, the felted slippers are actually all ready. Ideally, of course, the mould is not necessary at all, but if there is a need for a certain size, then the slipper should be stretched onto the mould after rinsing.
Rolling with a bamboo mat

While pressing strongly, you should roll a total of 200 times
NB! When felting, you do not need very warm water. If the water is too warm in the beginning then the slipper may felt too quickly and unevenly. Too much water and soap is not good, but too little also not. Find a reasonable balance!
Adding the soles to the felted slippers and other final touches
Once the slippers are nice and dry, then the soles should be sewn and/or decorations stitched on them. Also, you can felt a flower or something else for decoration. This is all personal – to each their own. Before cutting the soles, steam the slippers with an iron at maximum temperature.
If the slipper seems a little thin, then I recommend to cut an extra sole from some felt fabric. But if the slipper is thick and dense, then there is no need to do this. Attach the extra sole with glue or sew to the slipper using the stitch you like.

Sole for the felted slipper
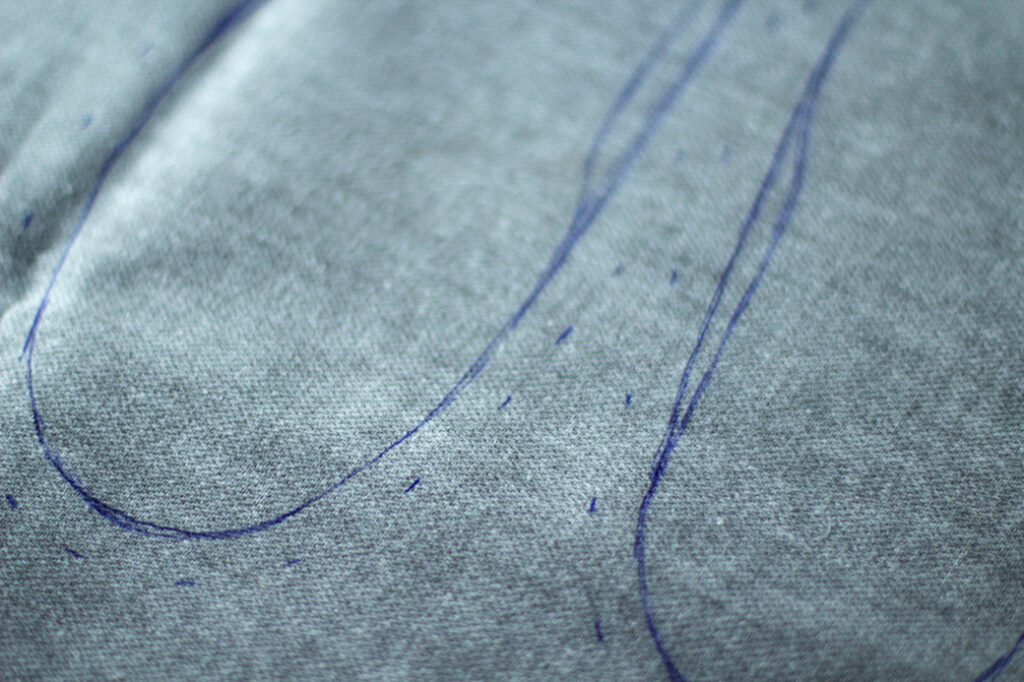
Cutting the sole for the felted slipper
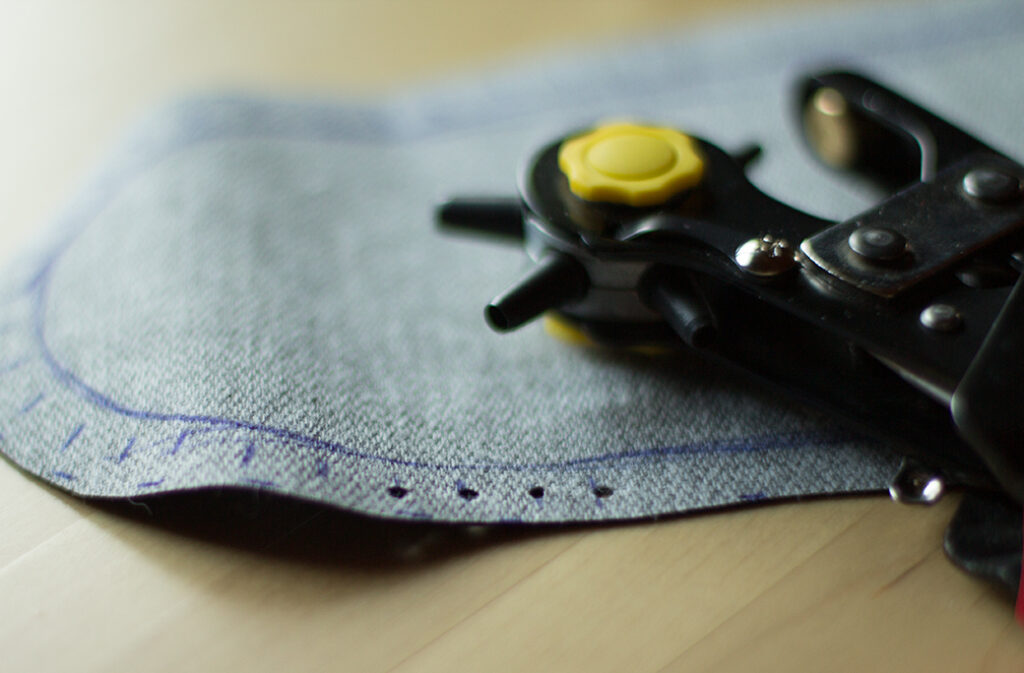
Holes for soles
I recommend the soles to be cut out of either leather or imitation leather. Place the slipper on the leather and draw a contour line with leaving at least 1 cm of seam allowance. It would be good to also make holes in advance with a puncher intended for this purpose, at intervals of about 8—9 mm and place them in the middle of the centimetre allowance. Adjust the sole on the slipper and fasten it with pins, and then sew it in blanket stitch or cross stitch. When sewing the sole, you need to use a very strong thread.

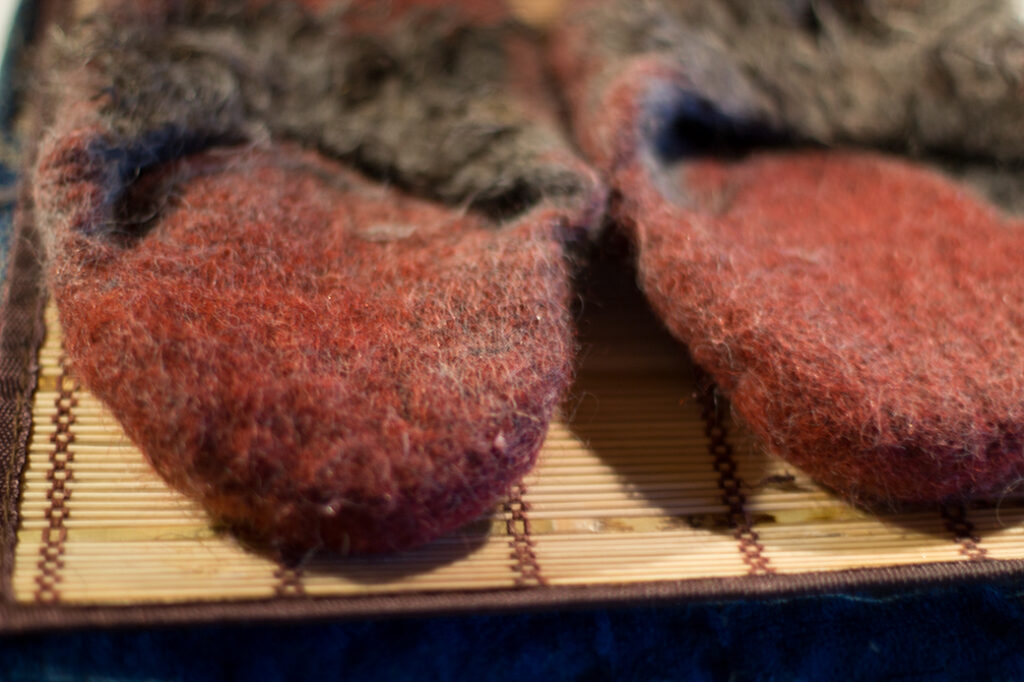
Felted slippers are warm and soft
From Isetegija (DIY-er) you can read about How Slipper-Grammy felted slippers.
If the post seemed interesting, but you do not feel up to starting by yourself or you need guidance, then I also organize felting workshops.
I would be very grateful if you could write a comment (commenting is at the bottom of the page). I really appreciate the feedback — you can tell me if you liked the post and if it was helpful or you can let me know if something was confusing. Thank you!